Gravity Forms
Introduction
This page provides a quick introduction to Gravity Forms, a powerful tool for creating professional looking forms embedded directly into a WordPress page or post. The easy to use form building platform helps to save time while also allowing users to preview their forms before taking them live on their site. Through its configuration settings there is a great deal of control over how users can interact with forms and how form entries are handled.
Some of the key features that Gravity Forms provides are:
- An intuitive drag-and-drop form builder interface
- Numerous field types providing complete form customization from the ground up
- The ability to export form data via CSV
- Available integration with various email marketing tools
Note: before building forms with Gravity Forms, the Gravity Forms plugin must be installed. To have the Gravity Forms plugin installed on a site, contact the UCOMM Web team. Once the plugin is on a site content maintainers can begin building forms.
For a complete reference on all Gravity Forms features, see the official Gravity Forms documentation.
Building and Embedding Forms
The process of creating a form in Gravity Forms, and then embedding it to a page or post, is simple and straightforward. Below are step-by-step instructions on the process. For those who prefer a video tutorial Gravity Forms has provided this useful resource demoing the drag-and-drop editor as well as how to create a simple contact form.
Creating a Form
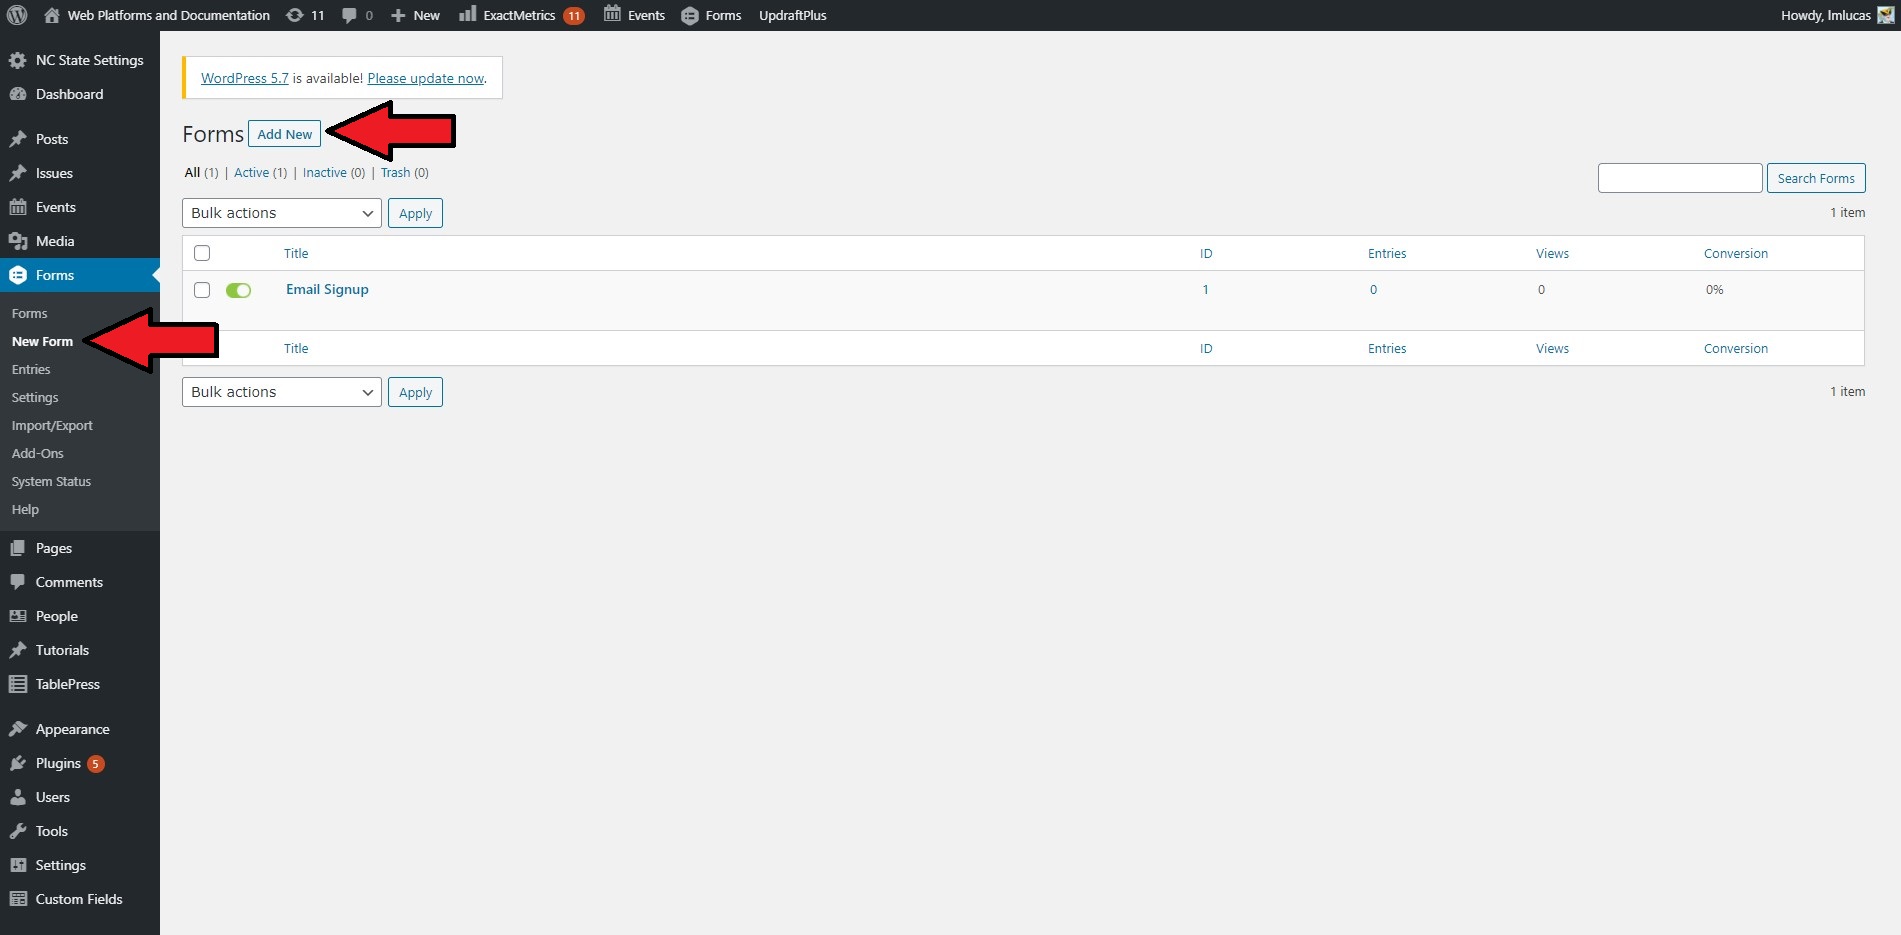
Before adding a form to a page or post it must first be built through the Form section of the WordPress dashboard.
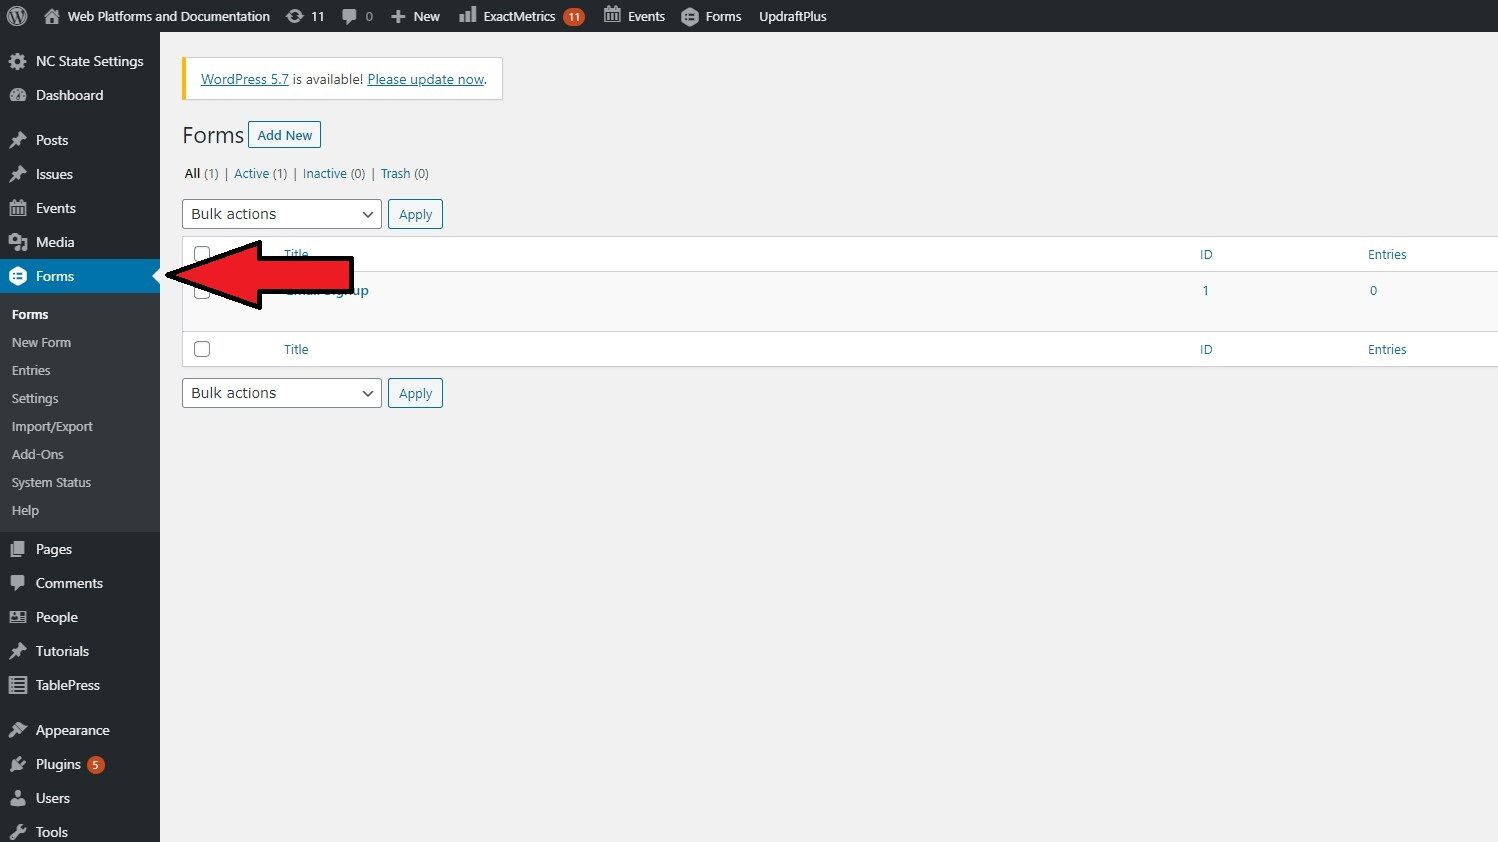
Once in the Forms section of the WordPress dashboard creating a new form is as easy as clicking “New Form” (or “Add New”) and then building it out with the form builder.
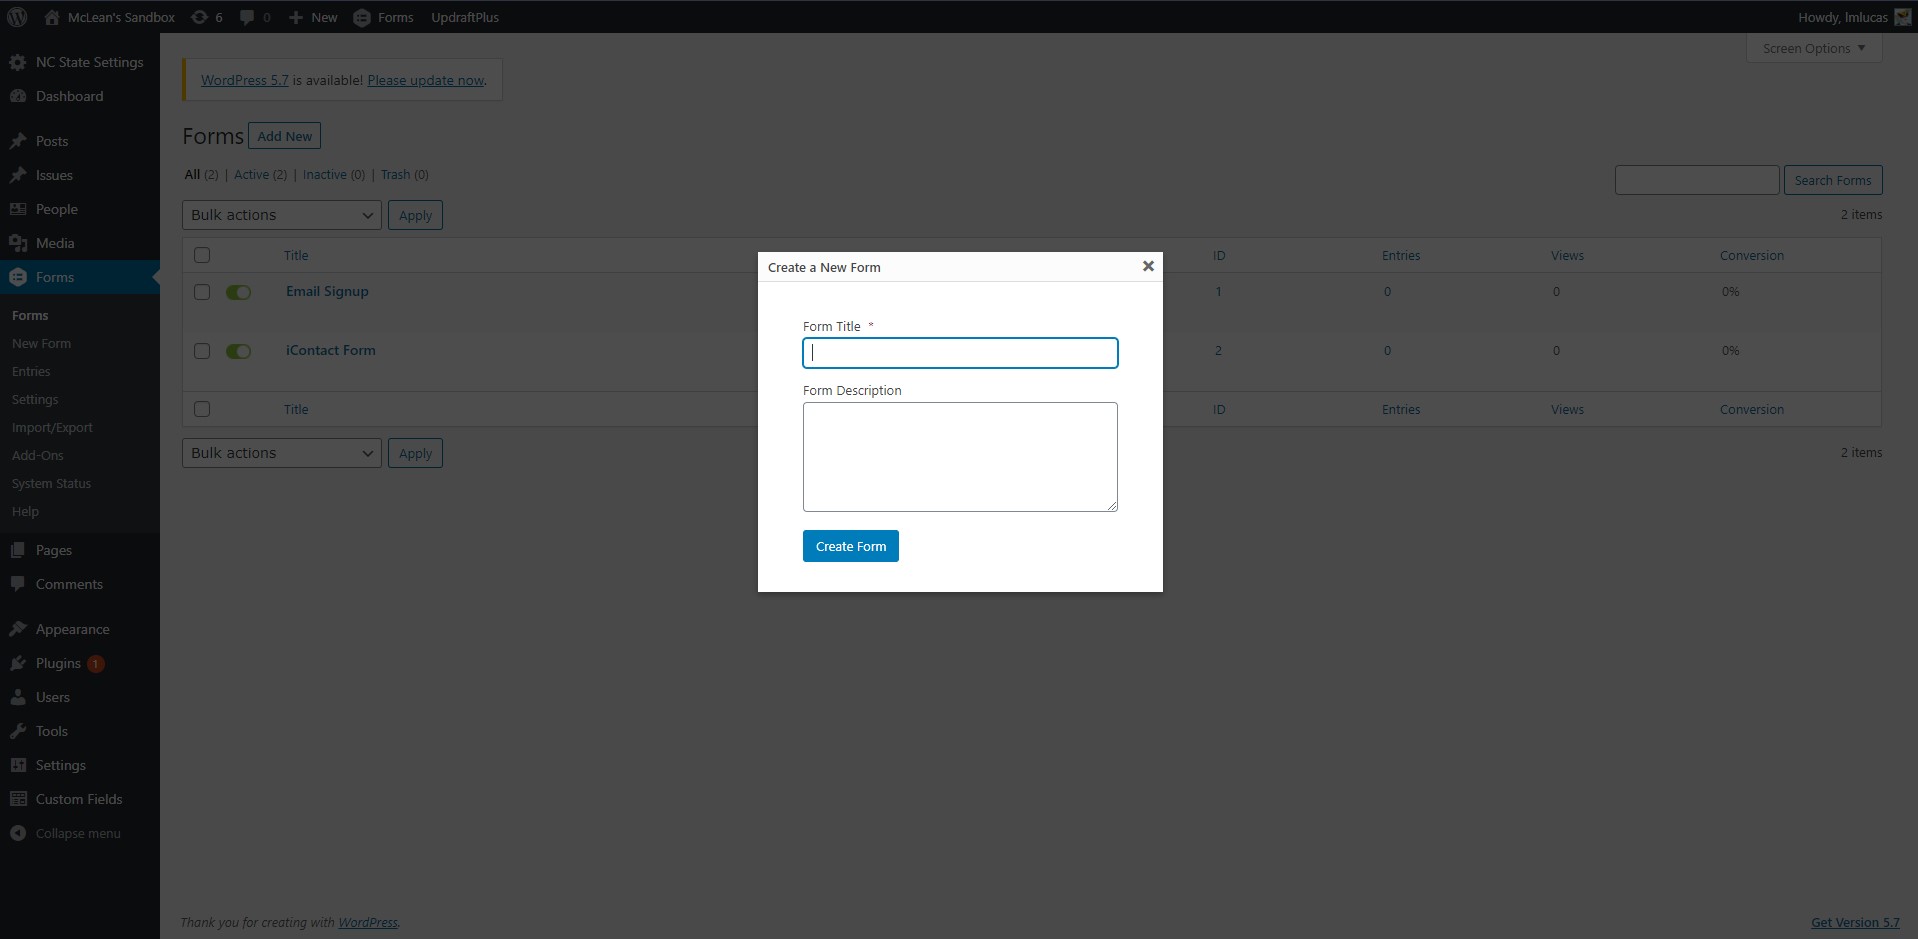
Once the new form has been added, WordPress will prompt you to provide a name and description for the new form.
Once the title and description is provided and the form is created, building out the rest of the form is as easy as following the instructions provided by Gravity Forms in the form builder.
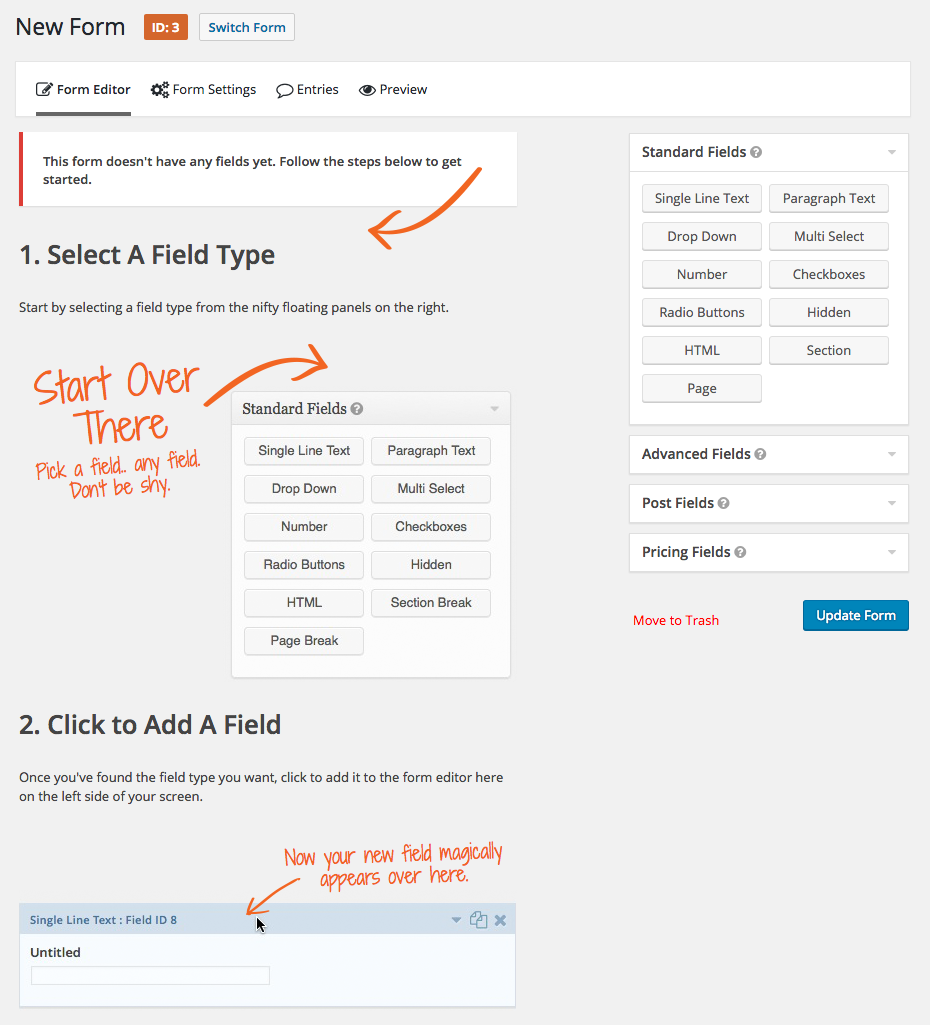
Note: once a form has been built it is necessary to click the “Update Form” button featured in the image above. It is also advisable that before adding a new form to a page or post to use the “Preview” feature first. This will not be a 1-to-1 representation of what the form looks like on a live page or post, but will provide a good estimation.
Still uncertain about the form building process? Watch this helpful video from Gravity Forms on the form creation process.
Adding a Form to a Page or Post
Once a form has been created through the form builder it can be embedded in a page or post by adding a Form block, Email Signup block, or the Fancy Paragraph block using the Form layout and choosing the desired form from the available drop down.

Note: once the form has been added any data collected will be available under the Forms section in the WordPress dashboard under Entries.
Collecting Data
Once there are data entries associated with a specific form they can be viewed in the Entries section under Forms in the WordPress dashboard. In order to use the data for other applications Gravity Forms also provides an export feature that will give the data in a CSV format. The process of exporting to CSV is outlined below.
Exporting to CSV
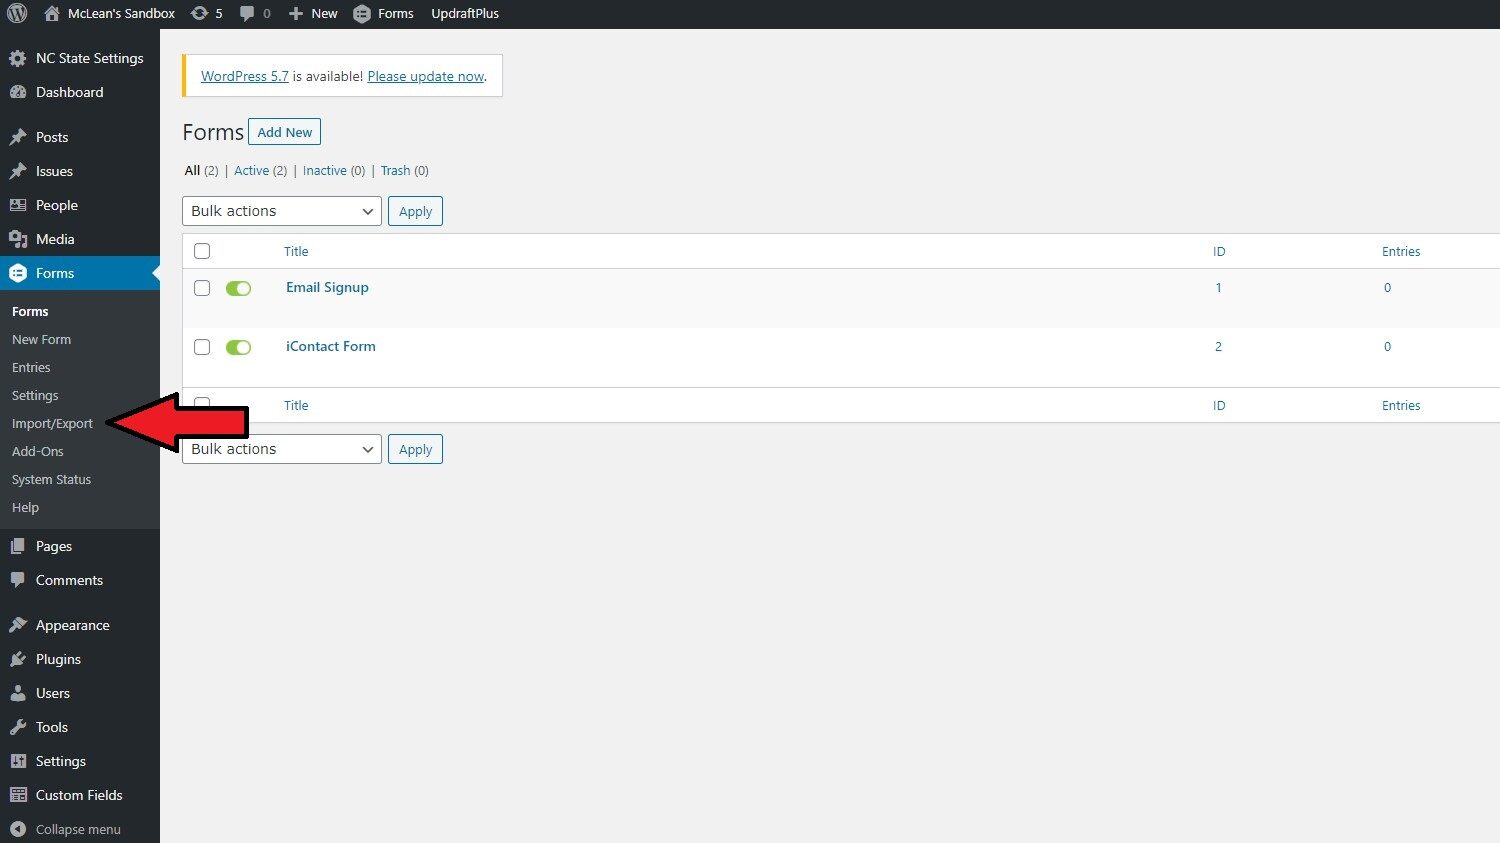
To begin the export process, navigate to the Import/Export section under Forms in the WordPress dashboard.
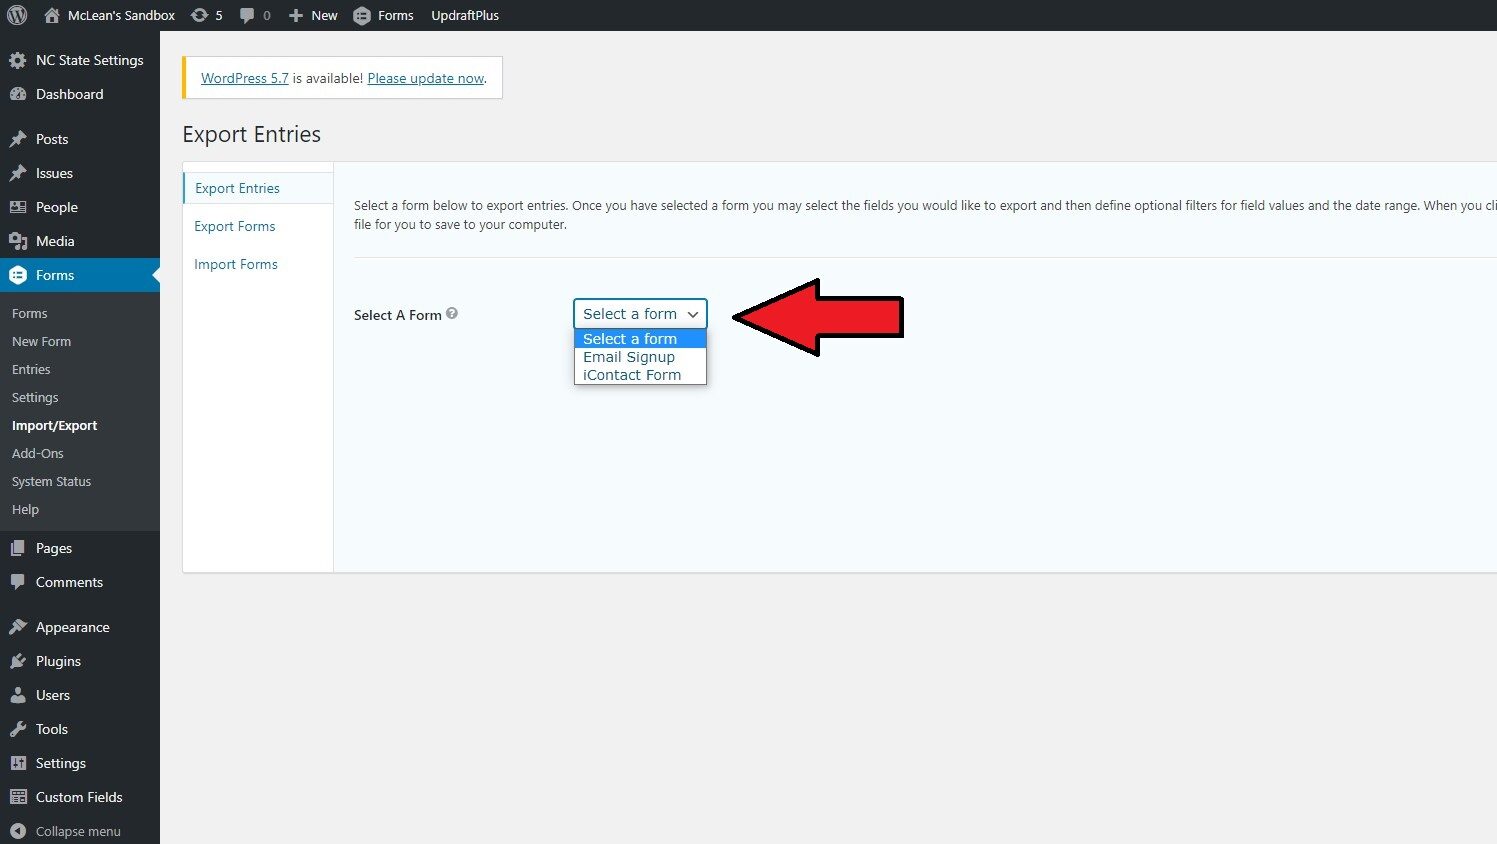
On the next page, while under Export Entries, select a form to export its data.
Before performing the export identify which specific fields need to be included in the export, along with with the date range. Finally, click the “Download Export File” button to convert the data to CSV.

Integration with Other Platforms
Another useful feature with respect to data collection is Gravity Form’s numerous integrations with third-party tools. Below are resources for help with setting up a few of the most common integrations, though there are many more.
Note: read more about Gravity Forms’ numerous third-party add-ons on their official site.
Need help?
Still unsure about about getting started with Gravity Forms? Feel free to reach out with any questions or concerns at go.ncsu.edu/ucomm-dev-request.