Image Block
Adding an Image
Images contained within the image block can be sourced from three different locations:
- Uploads from the creator’s computer (which will be stored in the Media Gallery for reuse)
- Images already uploaded to the Media Gallery
- URLs for images hosted elsewhere
Alignments
Several alignment options are available for images displayed in posts, which affects how widely (or narrowly) the image will display.
Content Width (Default)
By default, inserted images will display at the same width as the post content unless otherwise specified. In most cases this is probably the best option to use.
There is no button to specifically select content width alignment. If the creator chooses a different alignment option and decides to return to content width, simply toggle the alternate alignment option off.
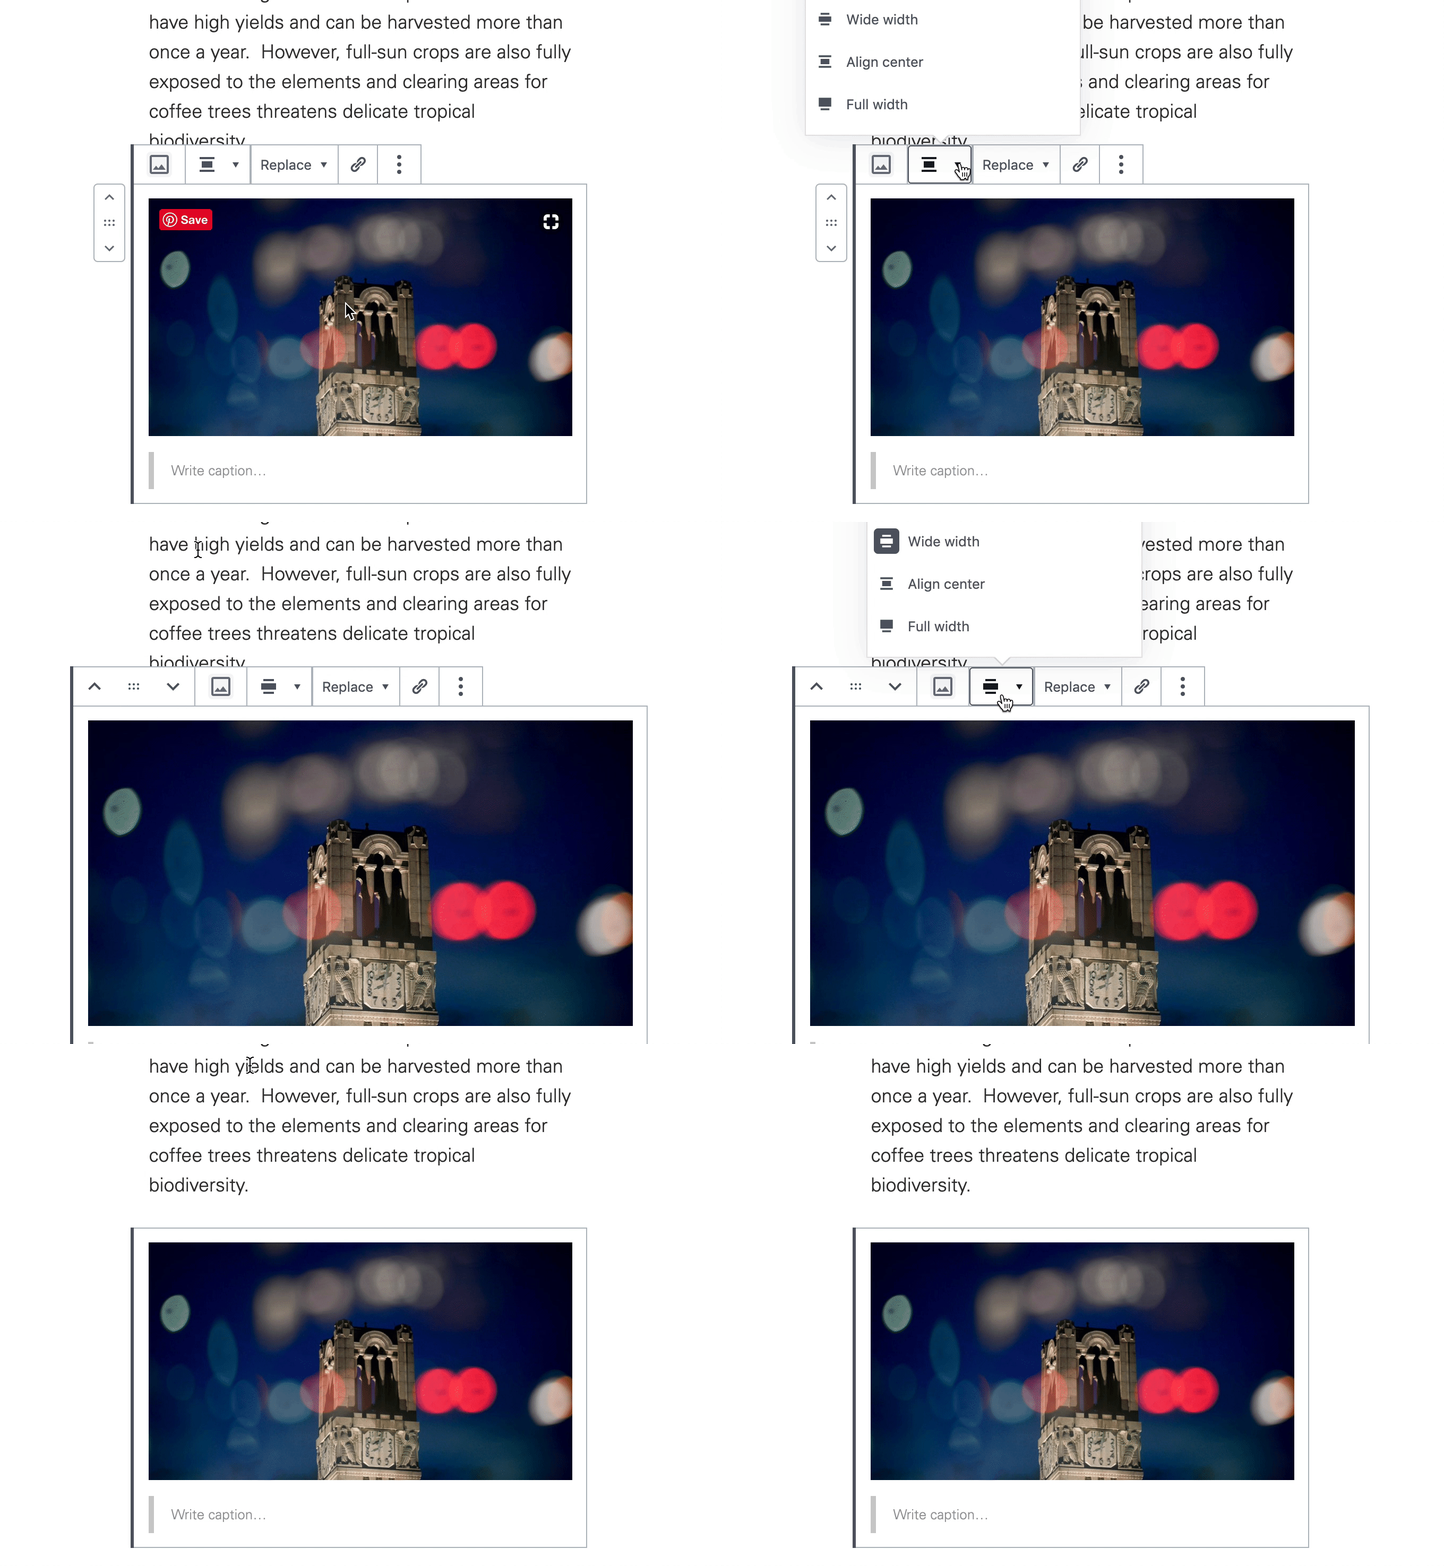
Wide Width
For larger, more impactful images, the “Wide” image alignment allows the image to display slightly wider than the post content width.
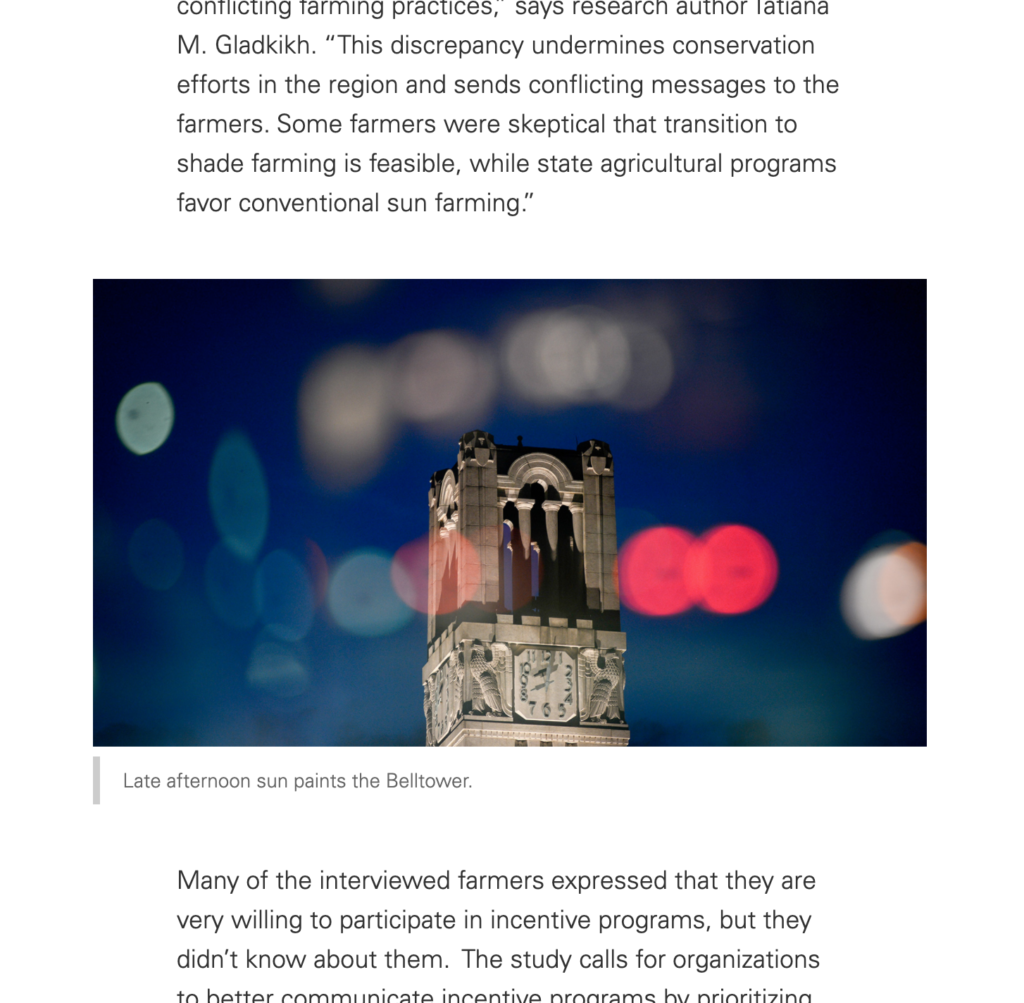
Full Width
This option is available on immersive template posts only.
For large images in immersive template posts, the “Full” alignment option will allow the image to stretch even wider than the “Wide” option. Keep in mind that this alignment option can create a very large visual footprint relative to the surrounding text.
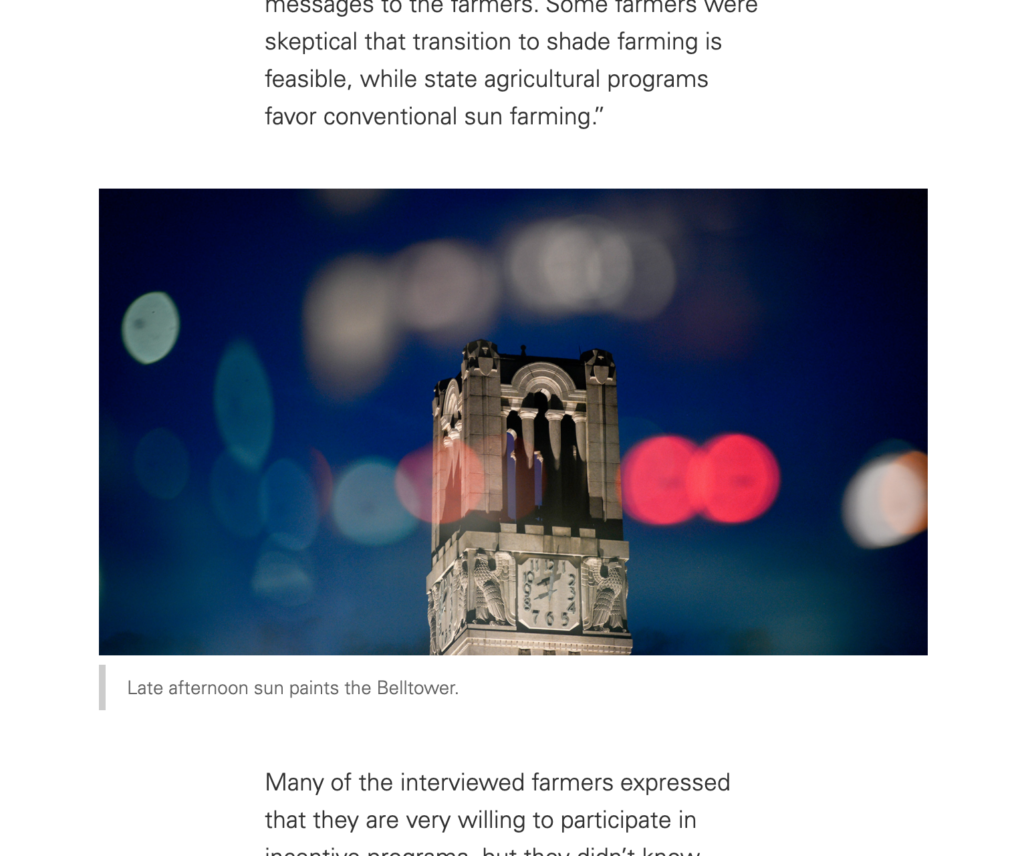
Right Alignment
This option is available on pages only.
The “Right” alignment option allows images to float to the right of text content. This option is ideal for supporting imagery that doesn’t necessarily need to capture a reader’s full attention but that still gives additional context to surrounding text-based content.
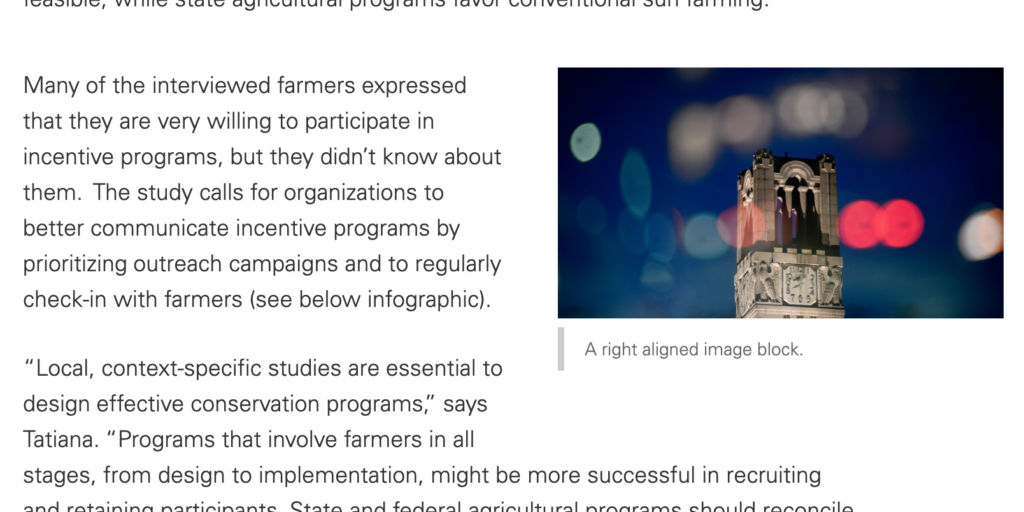
Note: Floated elements, such as right-aligned images, work best when placed next to enough text-based content to balance the height of the image. In cases where text is sparse, element overlapping may occur. Users should preview pages to verify all blocks are displaying appropriately when using this option.
Center Alignment
This option is available on posts only.
The “Center” alignment option is optimal for smaller images, or images that are taller than they are wide. These images will display slightly narrower than the post content width, and unlike other alignment options, captions are placed to the right of the image. This alignment option may also be useful for displaying headshots.

Sizes
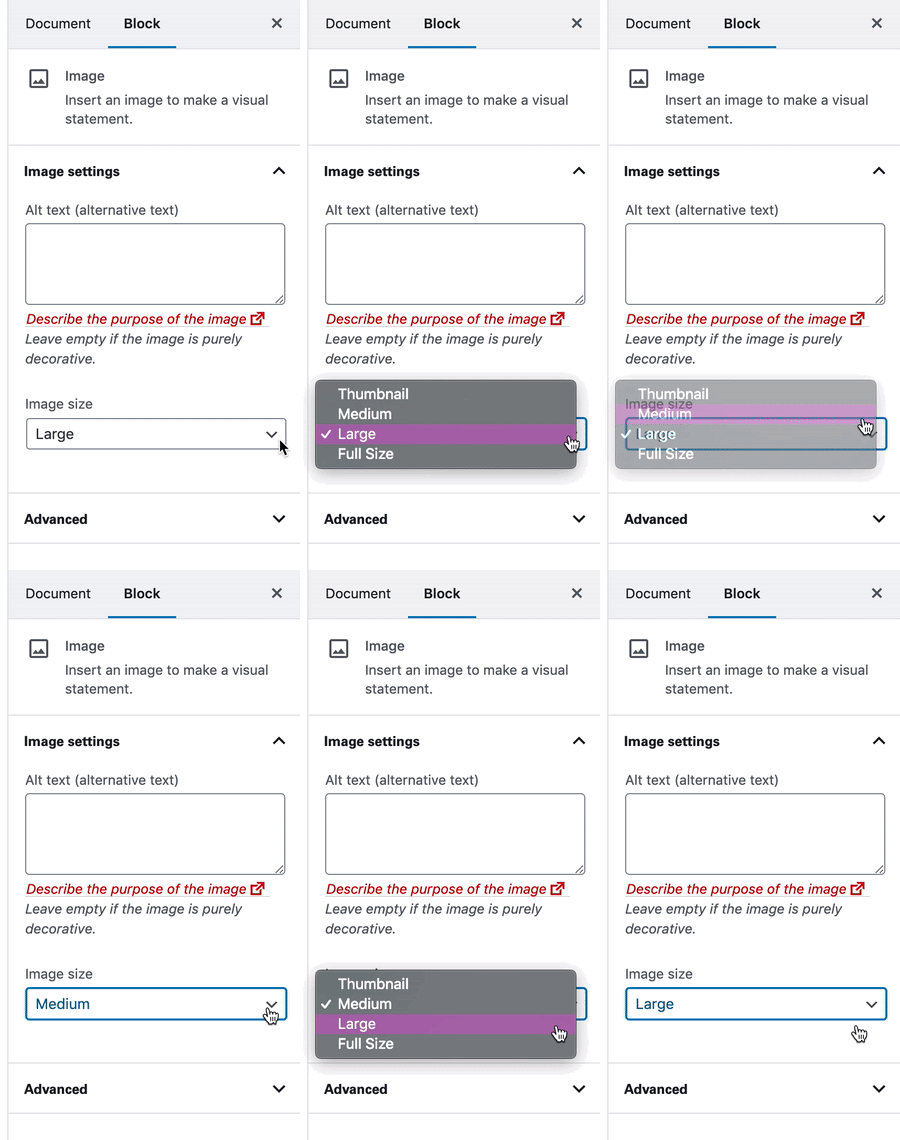
Image size can be manually set to control the crop size. By default, most images uploaded at over 1024px width or height will automatically have four crop sizes available:
- Full: The full, original size of the image uploaded
- Large: Maximum 1024px width and height
- Medium: Maximum 300px width and height
- Thumbnail: 150px x 150px square
Images smaller than 1024px width or height will have fewer crop sizes available.
When using the default image alignment (corresponding to post content width), these image sizes can be used to specify which image crop is used. In most cases, using the default “Large” size is a good option. Keep in mind that WordPress will sometimes automatically assign an image size, which may or may not be accurate.
Alignment Compatibility
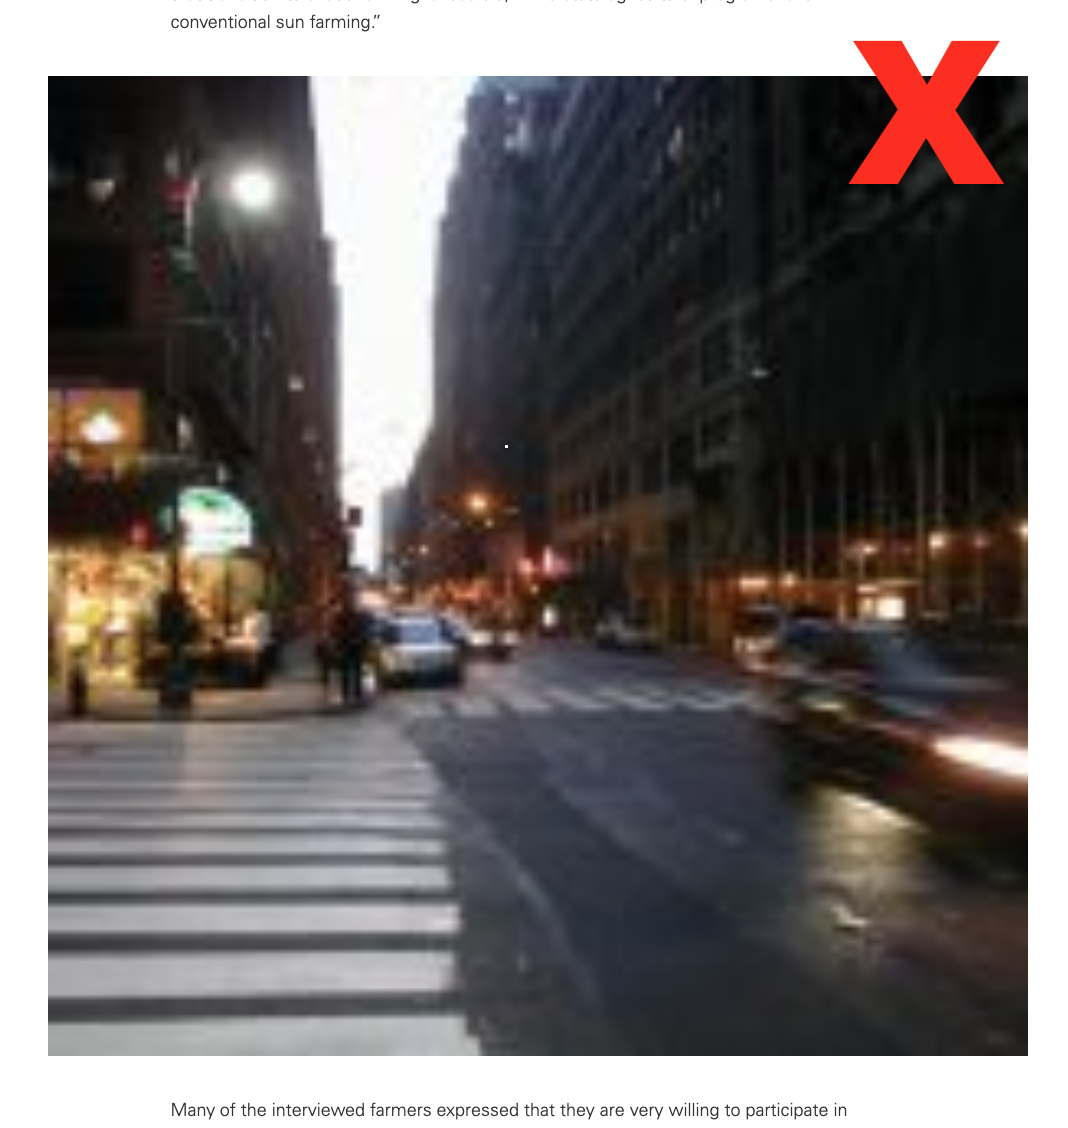
Some combinations of size and alignment options may not display correctly, especially when selecting smaller image sizes with wider alignment options. In these cases, a small image size may stretch to fit the alignment area, resulting in degraded image quality. For example, selecting a “Thumbnail” image size of 150px while also selecting the “Full” alignment option will result in a 150px-wide image being stretched to the full width of the page. Other combinations may be less drastic, but creators should nonetheless preview all page layouts to ensure that all images are displaying with their intended clarity.
Lightboxing
For detailed or visually complex images, it may be advantageous to allow the image to be lightboxed when a user clicks on it. This allows the image to stretch larger than may otherwise be allowed by the template, and it presents the image against a dark background for distraction-free viewing.
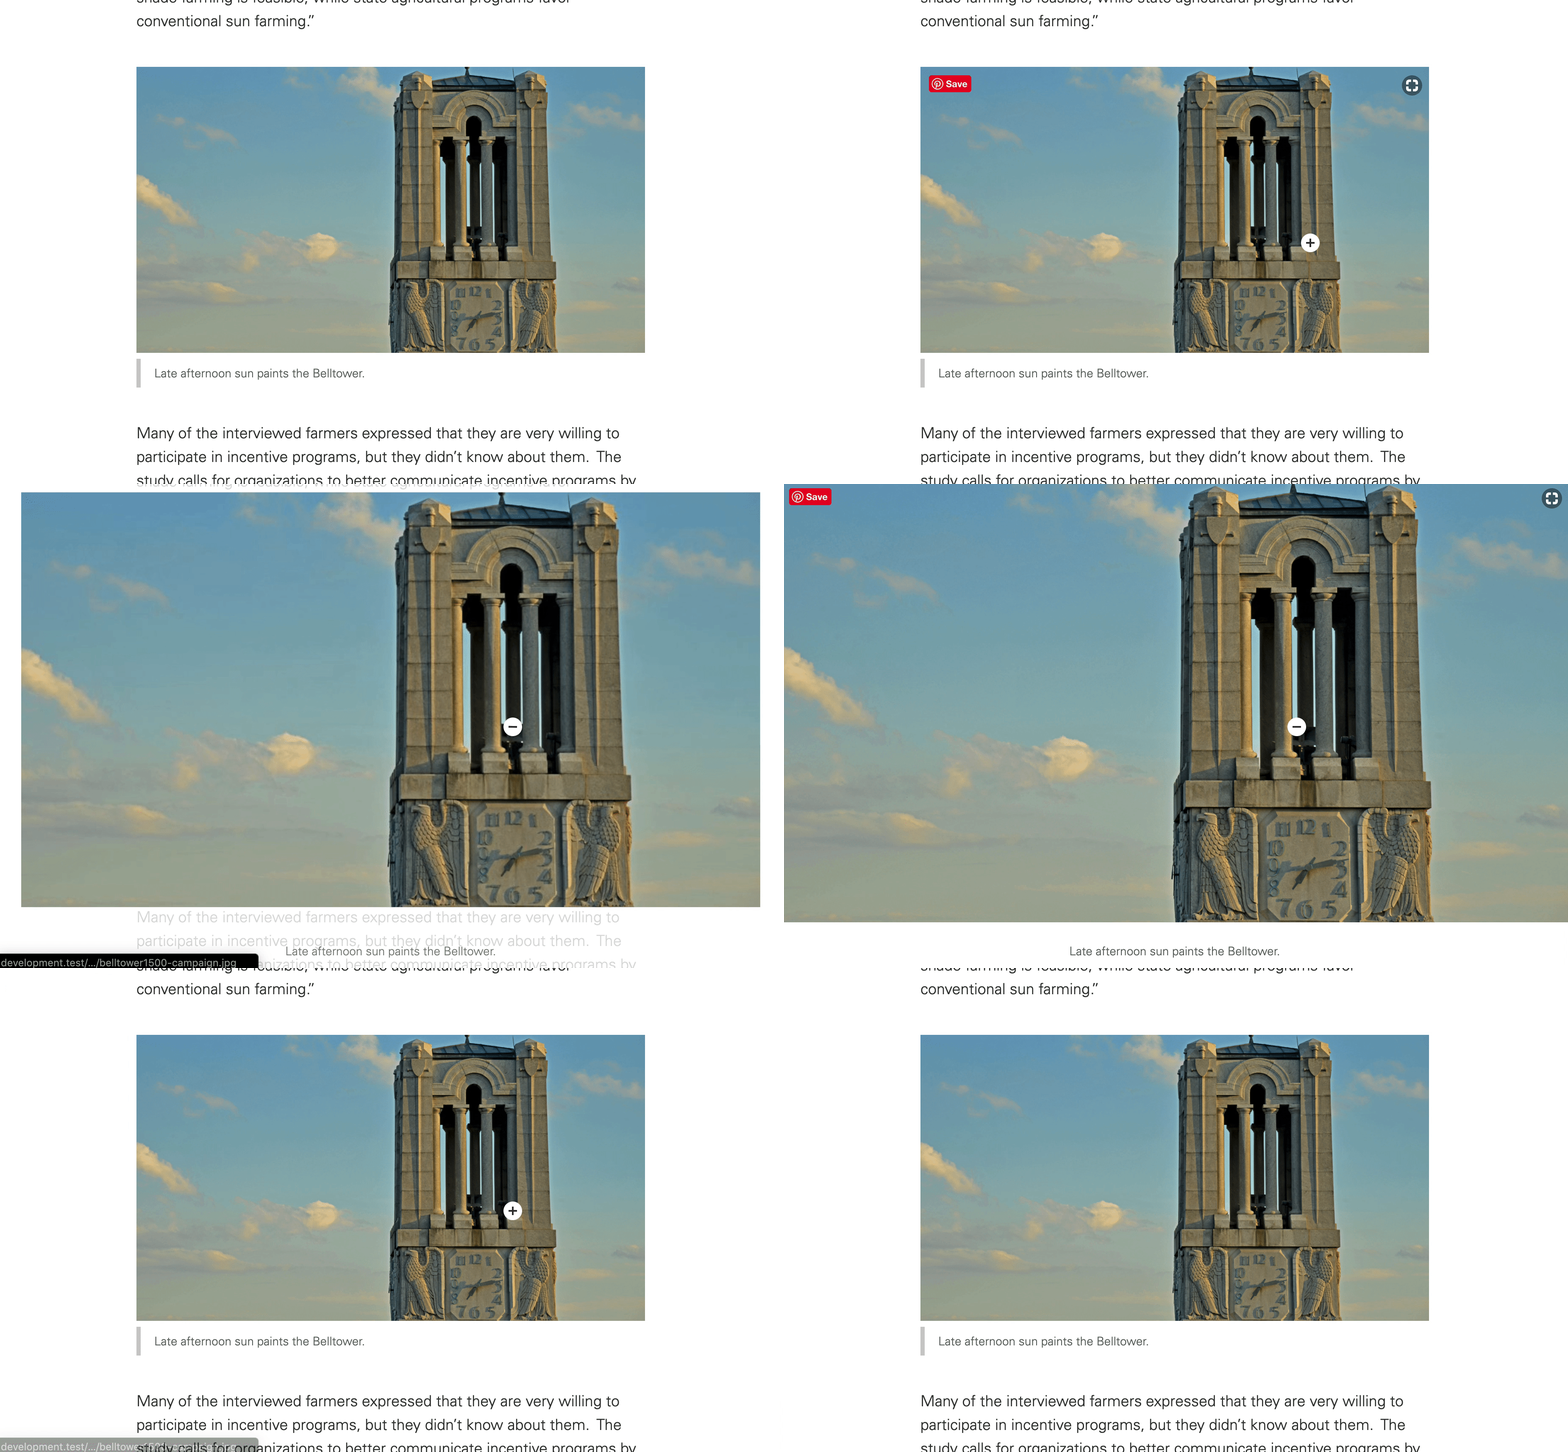
To enable lightboxing for an image, click “Insert Link” on the Image block controls toolbar, and select “Media File.”

Accessibility
When working with images, users should be mindful about whether all accessibility needs are being met. This may include inclusion of alt text, use of captions, or inclusion of alternate-format data attachments if the image is complex (such as a graph).
Users should be familiar with university accessibility requirements and best practices. See the following resources for help: